2 search results for "feed"

SMED 5; Final Stages of Single Minute Exchange of Die Implementation

The Final Stages of our Quick Changeover Implementation

SMED Stages 5 to 7


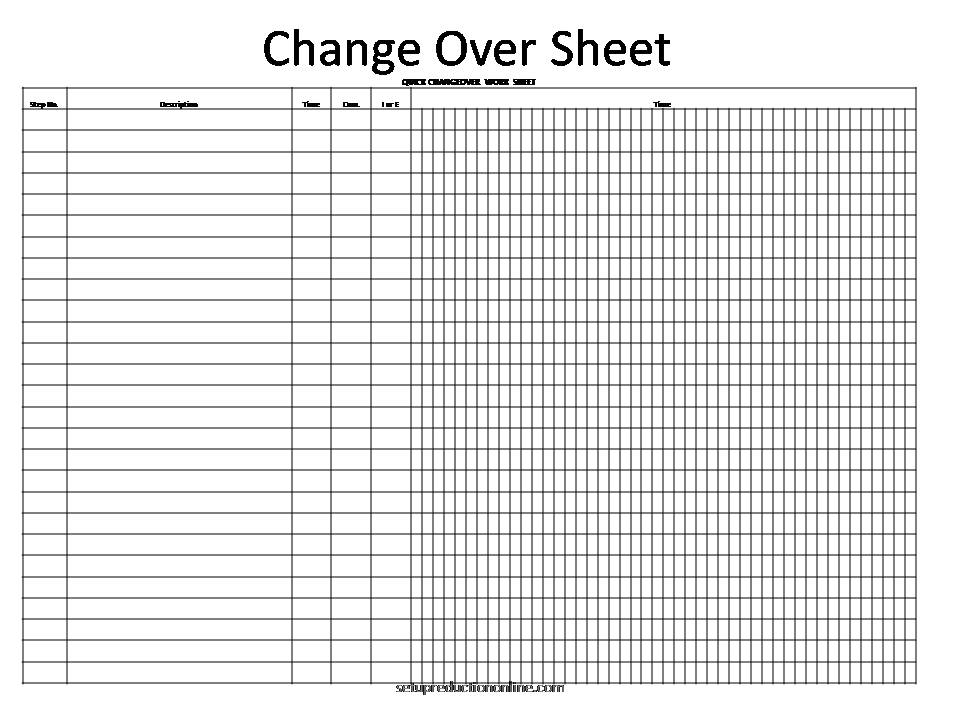
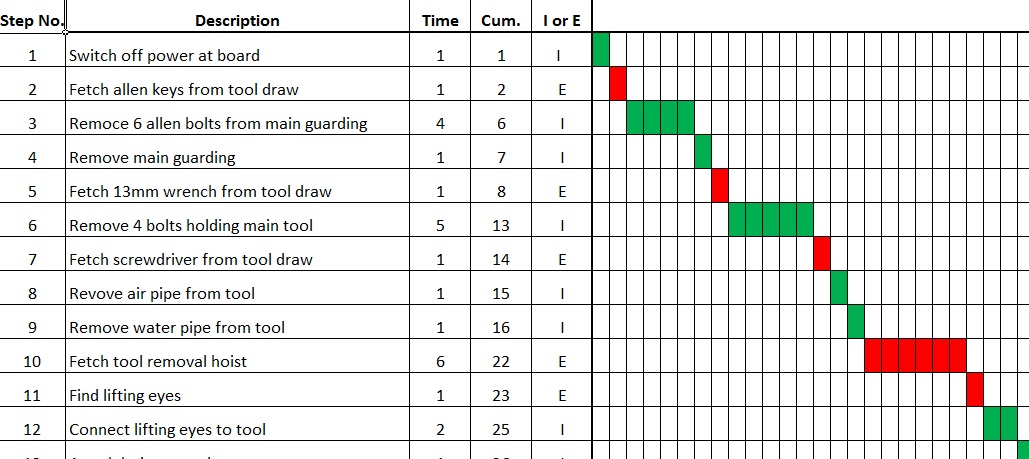
I will deal with the final stages of SMED in one single post as these stages are fairly simple and related. We have already by now significantly reduced our Setup, hopefully already down to single minutes. The aim of SMED or Single Minute Exchange of Die is to get the changeover down to less than 10 minute.


SMED Stage 5;

Improve External Activities


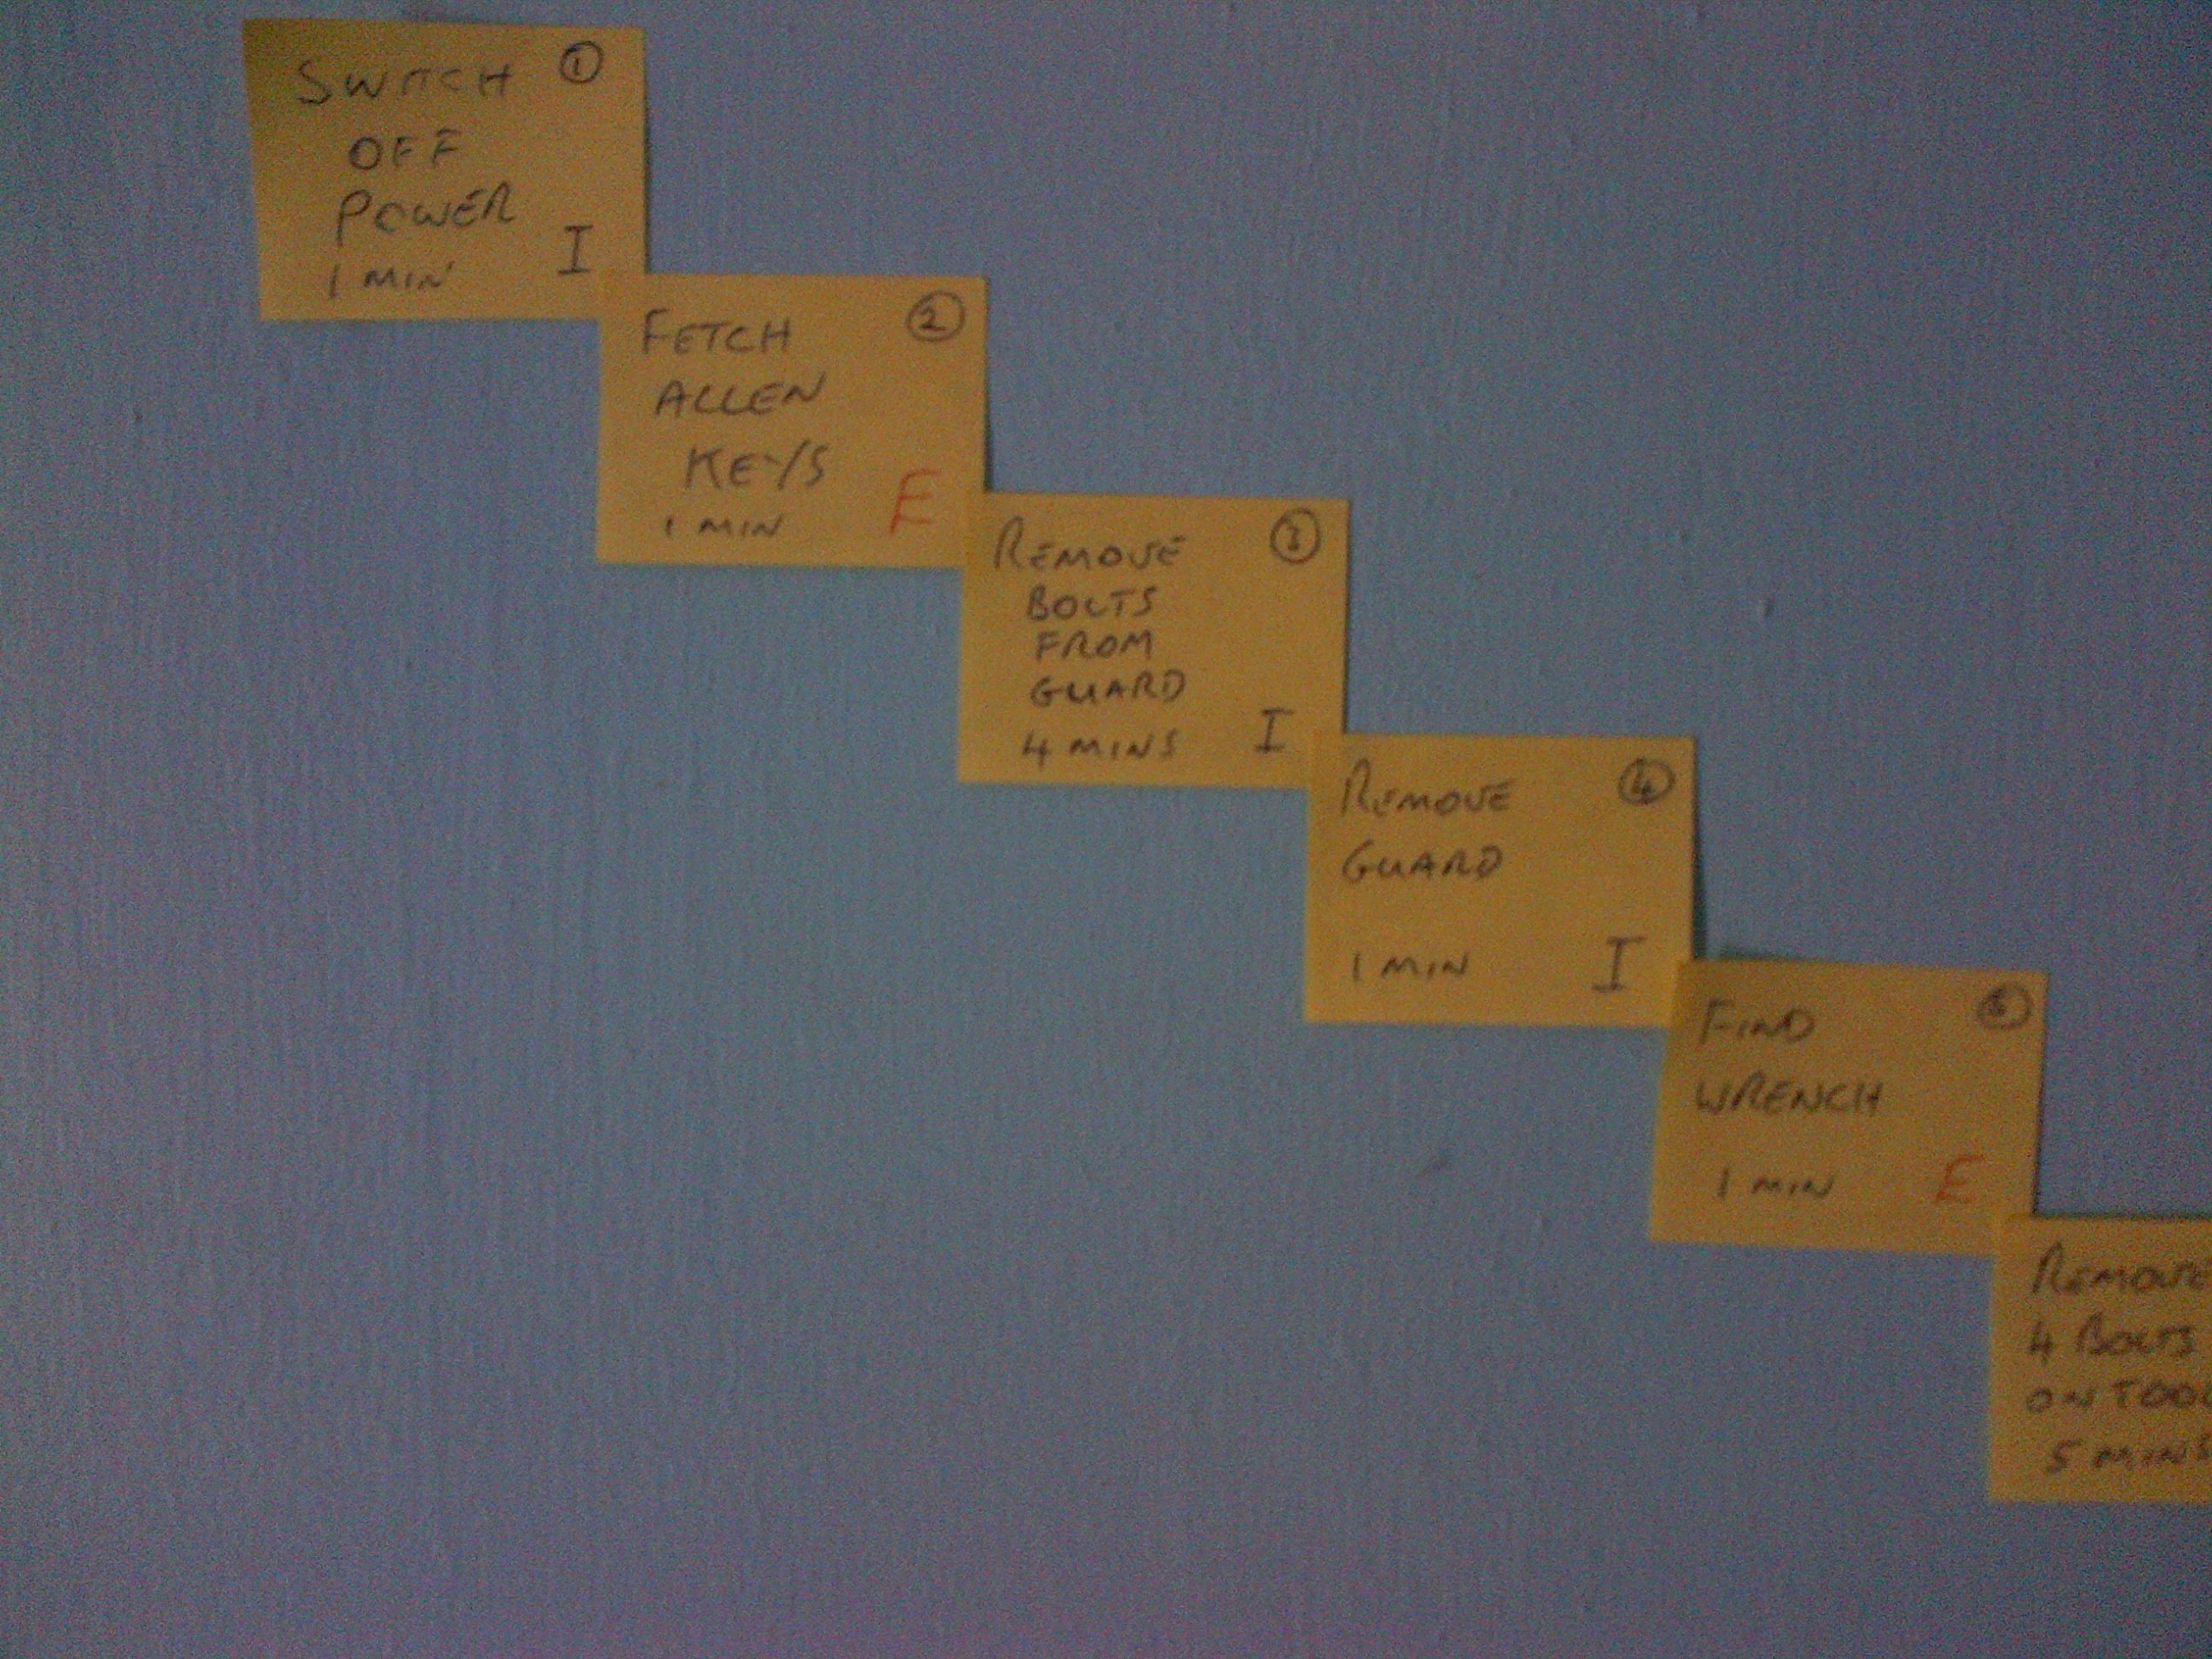
You will probably be at a stage now where the activities that are performed while the process is still running take longer than the actual quick setup process that you now have. This should be worked on using the same ideas that you have already used for your internal activities to ensure that you reduce the time that is spent on these external activities;

  • Look at 5S principles on your external setups
  • Look at who is performing the activities
  • Look at where the activities are being done
  • Look at easier ways to actually perform the activity

Once you have reduced your external activities once again ensure that your process if fully documented to ensure that everyone follows best practice at all times. You do not want to have differences between different operators or shifts.


SMED 5S

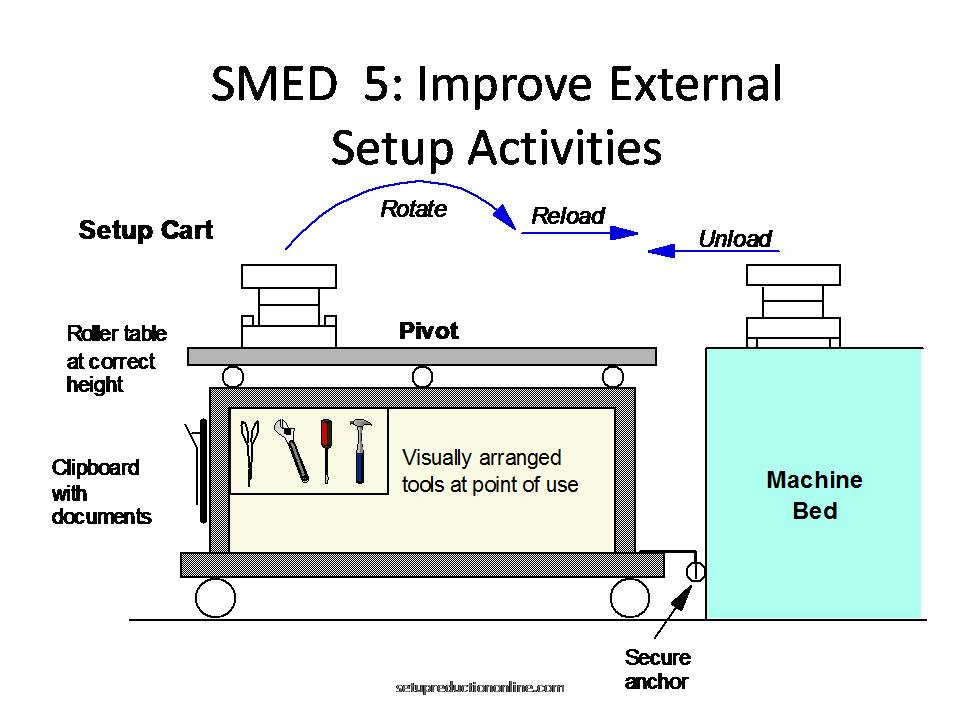
Use 5S principles to improve your external changeover time


SMED Stage 6

Automate Change Over

Automation is rarely a cheap option which is why this is one of the final steps of your SMED implementation. In most cases you will be able to reduce a setup to less than 10 minutes without the use of any form of automation.

Before embarking on any form of automation you should very carefully consider the cost benefits of what you will do as well as the final step of our quick change over program which is to actually eliminate the changeover completely. If the cost benefits are not going to justify using automation you should revisit the previous steps of your Single Minute Exchange of Die program to see if you can achieve any additional changes.

The other reason for Automation is of course safety is you are handling heavy or hazardous materials in which case automation is a very valid way of moving forward.

I have rarely seen the need for a changeover to be automated, the few times that it has been automated it has come with automated loading and unloading of components so people have actually been freed from the process to conduct other work within the process.


SMED Stage 7

Eliminate The Changeover

The ultimate changeover reduction is of course to eliminate the entire setup. If there is no need for a changeover then you will waste no time. This can be achieved through the following simple ways;


Have dedicated machines; often it is cheaper to have many smaller dedicated machines than one all singing all dancing super machine that does everything.

Design Modifications; remove the need for multiple components through the design process

Modify tooling to produce multiple parts; consider an “airfix” style injection molding tool that produces a whole set of components rather than multiple sets of one component.


Like automation eliminating the setup can be an expensive and often time consuming option so it is something that will require a cost benefit analysis.


Feedback your SMED Learning Into Your Design Process


It is always best to try and include members of your design teams into your SMED implementations so that they fully understand the results of some of their choices and are able to feedback what they learn into future designs. Far better to be able to start a new product with no changeovers or changeovers that are already in single minutes.


Help With Your SMED Implementation

If you are having any problems with your quick changeover process feel free to contact us here for help and advice in ensuring that you achieve your setup goals. If you feel that any of the information here is unclear or you would like to add anything then feel free to use the contact page to get in touch.


SMED 1; Seperating External and Internal Activities

Separate Internal and External Setup Activities

The First Stage of SMED

If Someone told you that you could easily reduce your changeover times by as much as 50% without spending any money or even having to work very hard you would probably tell them that they are talking rubbish. But that is what most companies achieve just through this initial analysis of the setup when implementing SMED. We often spend well over half of our changeover doing things that we could have had prepared before hand; so why do we do it – because we have always done it that way!

What are Internal and External Setup Activities?

When you conduct a setup on a process or a machine there are some parts of your setup that can be conducted while the machine is running and others that require that the equipment is stopped. Internal setup activities are those that require the process to be at a standstill before you can conduct them safely while external activities can be done while the process is still running.

Examples of External Setup activities

  • Fetching new tooling
  • Returning the old tooling
  • Finding tools for the setup
  • Finding correct paperwork
  • Fetching raw materials

Examples of Internal Setup activities

  • Removal of guarding from equipment
  • Removal of the old tool
  • Placing the new tool
  • Connecting services such as air to new tool
  • Clearing hoppers / material feeders


The Aim of separating external and Internal setup activities

Because all of your external activities can be done whilst the process is still running you can ensure that everything is done before you get to the point of the last part of the current batch. It is common that tools, equipment, paperwork and materials for instance are collected while the machine is already inactive. If everything is already prepared before you begin the “Internal” part of your setup then you will automatically eliminate all of this time from your setup. This first stage of your quick changeover will often save around 50% of your setup.

SMED First Stage

Separating the External and Internal Activities


Identifying internal and External setup information


Video recording equipment is no longer something that is expensive nor difficult to use, so being able to video the setup from more than one angle is going to be relatively simple. Ensure that the lighting for your recording is adequate and have the person doing the recording talk through the process as it is being done. It is far better to do any analysis from a video as it allows the whole team to be able to review the stages of the setup together. The video of course can be paused and process times taken direct from the footage itself if times are required.
From the video recording use the entire team to identify each step of the changeover either using post-it notes as a flow chart or on the worksheet below. For each and every stage identified the team needs to decide if the step is either “I” internal or “E” external which should be recorded on the sheet or on each post-it.
At this stage depending on the experience and capability of your team you may also want to identify those steps that are also Waste. The seven wastes of lean are those steps within the process that you are observing that do not add any value whatever to the product or process. So moving and fetching would be considered as waste.
If you have more than one shift then it is always worth videoing each shift and repeating the exercise for each. You can then compare the different shifts to see what they do differently.


Quick Change Over Work Sheet

Download the Quick Changeover worksheet to use in mapping your changeover process steps


Free SMED worksheet download

Click the link below to download and use the quick changeover work sheet

Quick Changeover Worksheet


SMED Worksheet Example


Quick Changeover Form

Example of a Quick Changeover Form in use


Using Post Its to Map your Changeover Process


Changeover Flowchart

Flowchart your Changeover using post its.


Separate Internal and External activities for the next setup

Next we use the changeover analysis to fully separate the two lists of activities so that all of the external activities such as fetching tooling and information can be conducted before the machine is stopped for changeover. This step without any form of optimization will often result in at least 50% reduction in machine downtime.

Separate Internal and External SMED Activities


SMED; Separate Internal and External Activities

Separate all Internal (“I”) and External (“E”) activities so that external activities can be conducted while the machine is still running.


SMED Stage 2

The next stage of our SMED implementation is to look at the external activities that we have separated and to standardize them so that they are done efficiently for each set up. Click the link to discover how to standardize external activities.